Designing Dental Clinics for Perfect SmilesPractical tips
Designing Dental Clinics for Perfect Smiles: Integrating Practical Techniques with Aesthetics
Within the field of dental care, patients’ pursuit of the ‘perfect smile’ has evolved beyond functional restoration to encompass aesthetic design and psychological experience. Exceptional dental clinic design must balance professionalism, aesthetics, and human-centred service. Through environmental optimisation, meticulous detailing, and technological empowerment, it creates a comfortable, trustworthy, and efficient patient experience. The following shares practical techniques for enhancing dental clinic design across four dimensions: design principles, spatial planning, detail optimisation, and technological application.
I. Design Principles: Balancing Function and Aesthetics
1. Functionality First, Efficiency Paramount
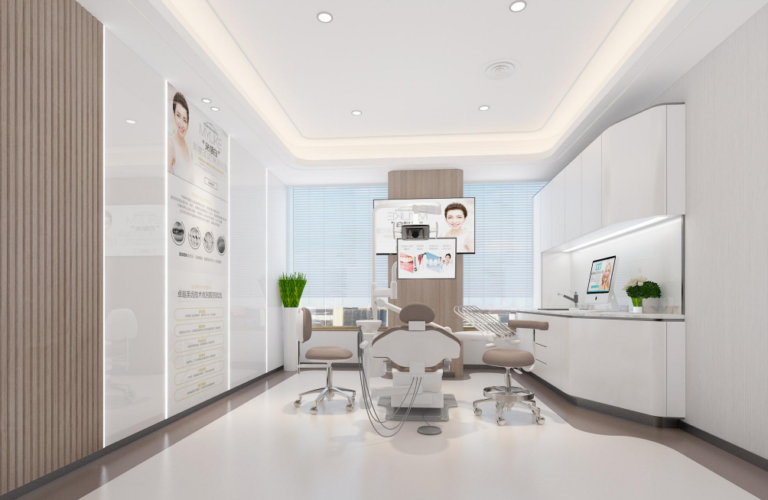
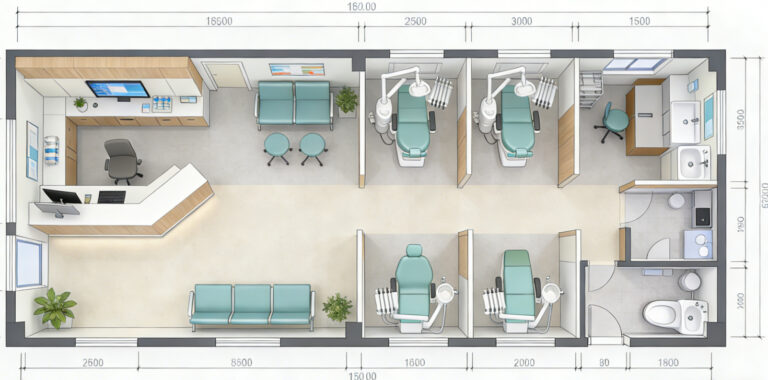
The core of a dental practice lies in clinical procedures, necessitating spatial optimisation around treatment workflows. For instance, establishing a ‘triangular workflow’ between sterilisation, instrument preparation, and treatment zones minimises staff movement. Independent treatment rooms (12-15m²) should feature adjustable lighting, soundproof doors, and panoramic imaging systems to ensure procedural privacy and professionalism.
2. Aesthetics Empowering, Anxiety Alleviating
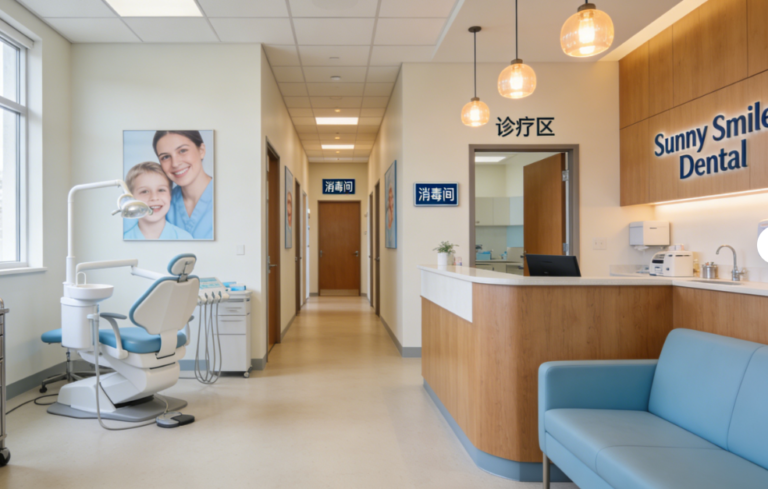
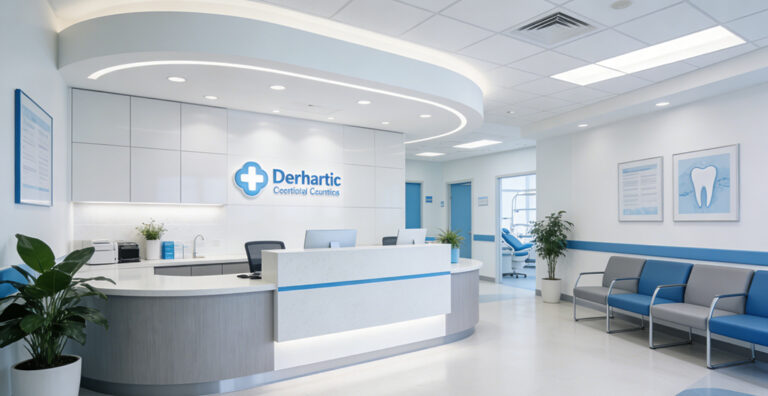
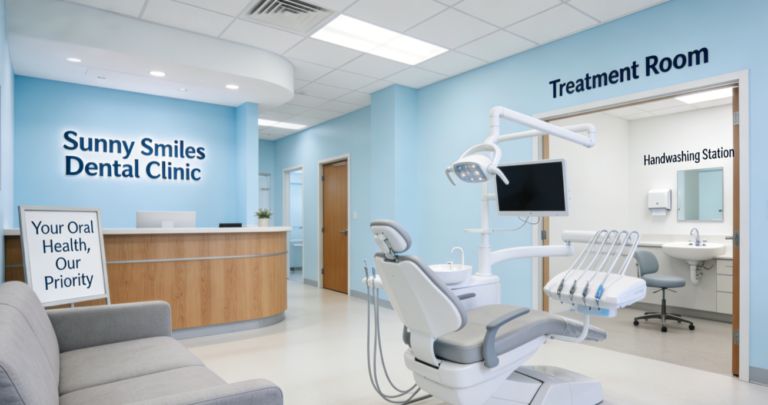
Colour psychology indicates that low-saturation tones such as pale blue, off-white, and light wood hues convey professionalism and warmth, reducing patient anxiety. Avoid stimulating colours like red or black. Children’s areas may incorporate cartoon elements (e.g., wall murals, interactive screens) and rounded-edge furniture to foster a relaxed atmosphere.
3. Accessible Design: Accommodating Diverse Needs
Consultation room doors ≥90cm wide; corridors ≥150cm wide; washrooms fitted with grab rails and emergency call buttons for elderly or mobility-impaired patients. Paediatric treatment chairs designed as ‘space pods’ or ‘car shapes’ to enhance engagement and reduce fear.
II. Spatial Planning: Separating Activity Zones to Optimise Circulation
1. Functional Zoning: Balancing Privacy and Efficiency
Treatment Zone: Independent consultation rooms are essential, with soundproof doors and green walls blocking noise and sightlines to protect patient privacy.
Waiting Area: Maintains a minimum 5-metre distance from treatment zones. Features ‘quiet booths’ for private consultations, preventing patients from directly viewing treatment scenes.
Children’s Zone: Separated from adult waiting areas, featuring soft carpeting, cartoon decorations, and interactive toys to distract young patients.
2. Circulation Design: Minimising Backtracking for Enhanced Experience
Patient Flow: Follows a linear ‘reception → waiting → treatment → payment → departure’ sequence. Payment counter positioned near exit to avoid redundant journeys.
Staff Flow: The sterilisation supply area is centrally located within the treatment zone, reducing instrument transfer times to under 30 seconds and improving operational efficiency.
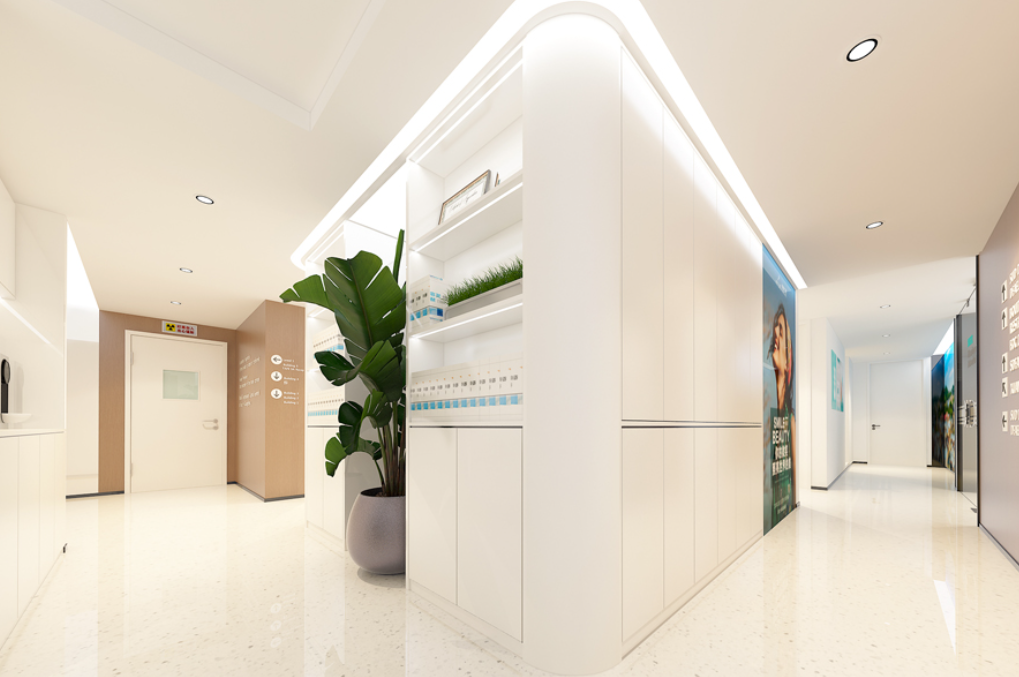
Accessible Pathways: Non-slip tiles (waiting area) and PVC flooring (treatment area, quiet and antibacterial) ensure wheelchair accessibility.
III. Detail Optimisation: Sensory Experience and Emotional Resonance
1. Lighting Design: Layered illumination for visual comfort
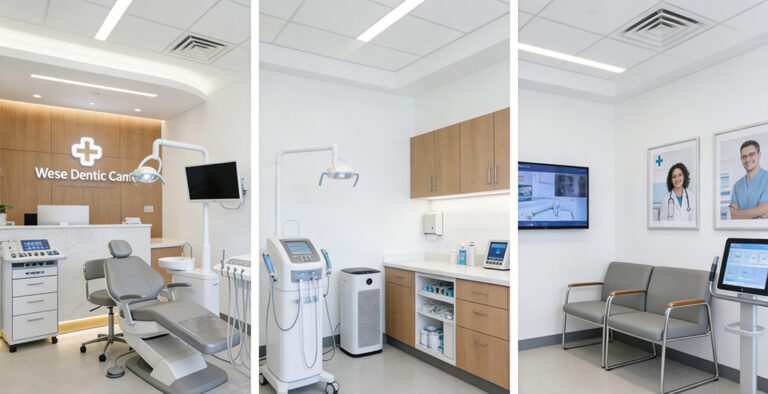
Treatment Zone: Primary lighting utilises shadowless LED surgical lights (5000K colour temperature, CRI ≥90), supplemented by reading lamps for patients reviewing records.
Waiting Area: Combination of floor lamps and downlights (3000K colour temperature), with localised lighting (e.g., table lamps) in reading corners.
Corridors and Toilets: Uniformly distributed downlights; fog-proof, dimmable mirror lights in washrooms.
2. Acoustic Control: Noise Reduction for Enhanced Comfort
Wall Insulation: Double-layered plasterboard + acoustic insulation (reducing noise by 40dB+); examination room doors fitted with solid wood composite doors + weatherstripping.
Equipment Noise Reduction: Dental drills and scalers mounted on vibration-damping brackets; water pipes wrapped in acoustic insulation.
Background Music: Play soft music or white noise (e.g., flowing water) at 40-50 decibels to mask instrument sounds.
3. Human-Centred Facilities: Attention to detail enhances satisfaction
Dental Chair: Features heated seat pads, massage function, 45° adjustable headrest, armrests with phone holders and call buttons.
Waiting Area Services: Offer complimentary Wi-Fi, charging stations, bottled water, and light refreshments (e.g., sugar-free sweets). Display a ‘Smile Wall’ showcasing before-and-after treatment photos to foster trust.
Paediatric Care: Present ‘Bravery Badges’ before procedures and award small toys or stickers afterwards to reinforce a sense of achievement.
IV. Technological Applications: Smart Solutions for Enhanced Treatment Experiences
1. Digital Tools: Enhancing Transparency
In-room screens: 4K cameras transmit real-time procedure footage to patient displays, explaining steps (e.g., ‘currently removing tartar’).
3D scanning and simulation: Intraoral scanners rapidly capture dental models; software generates 3D comparison visuals to aid treatment plan comprehension.
Designing Dental Clinics for Perfect Smiles: Integrating Practicality with Aesthetics
Within the field of dental healthcare, patients’ pursuit of the ‘perfect smile’ has evolved beyond functional restoration to encompass aesthetic design and psychological experience. Exceptional dental clinic design must balance professionalism, aesthetics, and human-centred service. Through environmental optimisation, meticulous detailing, and technological empowerment, it creates a comfortable, trustworthy, and efficient patient experience. Below, we share practical techniques for enhancing dental clinic design across four dimensions: design principles, spatial planning, detail optimisation, and technological application.
I. Design Principles: Balancing Function and Aesthetics
1. Functionality First, Efficiency Paramount
The core of a dental practice lies in clinical procedures, necessitating spatial optimisation around treatment workflows. For instance, establishing a ‘triangular workflow’ between sterilisation, instrument preparation, and treatment zones minimises staff movement. Independent treatment rooms (12-15m²) should feature adjustable lighting, soundproof doors, and panoramic imaging systems to ensure procedural privacy and professionalism.
2. Aesthetics Empowering, Anxiety Alleviating
Colour psychology indicates that low-saturation tones such as pale blue, off-white, and light wood hues convey professionalism and warmth, reducing patient anxiety. Avoid stimulating colours like red or black. Children’s areas may incorporate cartoon elements (e.g., wall murals, interactive screens) and rounded-edge furniture to foster a relaxed atmosphere.
3. Accessible Design: Accommodating Diverse Needs
Consultation room doors ≥90cm wide; corridors ≥150cm wide; washrooms fitted with grab rails and emergency call buttons for elderly or mobility-impaired patients. Paediatric treatment chairs designed as ‘space pods’ or ‘car shapes’ to enhance engagement and reduce fear.
II. Spatial Planning: Separating Activity Zones to Optimise Circulation
1. Functional Zoning: Balancing Privacy and Efficiency
Treatment Zone: Independent consultation rooms are essential, with soundproof doors and green walls blocking noise and sightlines to protect patient privacy.
Waiting Area: Maintains a minimum 5-metre distance from treatment zones. Features ‘quiet booths’ for private consultations, preventing patients from directly viewing treatment scenes.
Children’s Zone: Separated from adult waiting areas, featuring soft carpeting, cartoon decorations, and interactive toys to distract young patients.
2. Circulation Design: Minimising Backtracking for Enhanced Experience
Patient Flow: Follows a linear ‘reception → waiting → treatment → payment → departure’ sequence. Payment counter positioned near exit to avoid redundant journeys.
Staff Flow: The sterilisation supply area is centrally located within the treatment zone, reducing instrument transfer times to under 30 seconds and improving operational efficiency.
Accessible Pathways: Non-slip tiles (waiting area) and PVC flooring (treatment area, quiet and antibacterial) ensure wheelchair accessibility.
III. Detail Optimisation: Sensory Experience and Emotional Resonance
1. Lighting Design: Layered illumination for visual comfort
Treatment Zone: Primary lighting utilises shadowless LED surgical lights (5000K colour temperature, CRI ≥90), supplemented by reading lamps for patients reviewing records.
Waiting Area: Combination of floor lamps and downlights (3000K colour temperature), with localised lighting (e.g., table lamps) in reading corners.
Corridors and Toilets: Uniformly distributed downlights; fog-proof, dimmable mirror lights in washrooms.
2. Acoustic Control: Noise Reduction for Enhanced Comfort
Wall Insulation: Double-layered plasterboard + acoustic insulation (reducing noise by 40dB+); examination room doors fitted with solid wood composite doors + weatherstripping.
Equipment Noise Reduction: Dental drills and scalers mounted on vibration-damping brackets; water pipes wrapped in acoustic insulation.
Background Music: Play soft music or white noise (e.g., flowing water) at 40-50 decibels to mask instrument sounds.
3. Human-Centred Facilities: Attention to detail enhances satisfaction
Dental Chair: Features heated seat pads, massage function, 45° adjustable headrest, armrests with phone holders and call buttons.
Waiting Area Services: Offer complimentary Wi-Fi, charging stations, bottled water, and light refreshments (e.g., sugar-free sweets). Display a ‘Smile Wall’ showcasing before-and-after treatment photos to foster trust.
Paediatric Care: Present ‘Bravery Badges’ before procedures and award small toys or stickers afterwards to reinforce a sense of achievement.
IV. Technological Applications: Smart Solutions for Enhanced Treatment Experiences
1. Digital Tools: Enhancing Transparency
In-room screens: 4K cameras transmit real-time procedure footage to patient displays, explaining steps (e.g., ‘currently removing tartar’).
3D scanning and simulation: Intraoral scanners rapidly capture dental models; software generates 3D comparison visuals to aid treatment plan comprehension.